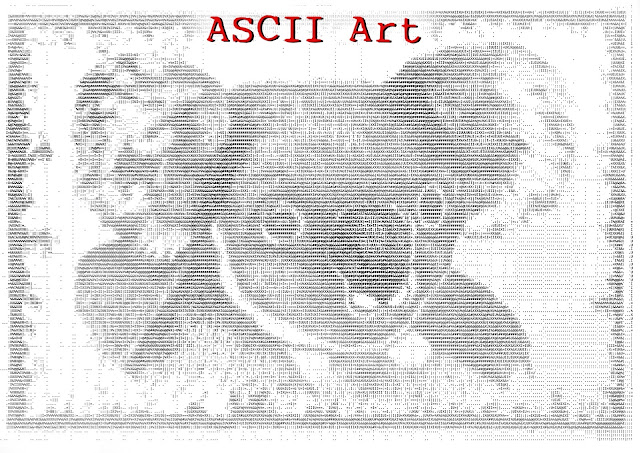
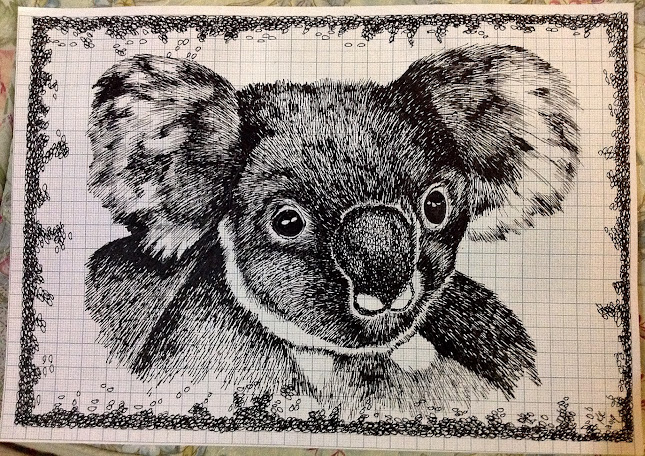
Showing my age here but I remember making ASCII artworks back in the 1980's and thinking how cool they were. They look very basic now compared to digital images I have seen. I think students will like making a drawing and then converting it into letters, numbers and symbols. Its a simple artmaking activity that introduces kids to digital artmaking techniques. INSTRUCTIONS: 1. First thing to do is to have students make a drawing using lines. I find that drawing with lines works best when converting the image into ASCII art later on. 2. Students need to select ONE of the following Resource Images and base their drawing on that. 3. Students will create their drawing using graph paper. The structured patterning of lines, large and small squares adds to the "technology" appearance of the finished drawing. ART APPRECIATION:
Later on this week, I will be doing an all-day art lesson with a Year 4 class. I have taught this class many times, they are a great bunch of little people and we have a great rapport. It is because of this that I decided to do clay work with them, teaching them the basic construction techniques - pinch pots, slabs and coils. I saw on Pinterest, the work of Dean DeRosso (hope I spelt that right) and immediately though of my Year 4 kids. They will love making their own little clay monsters. I have made up some teaching resources with information to help the students better understand how to make a pinch pot and included an example of a monster created by Dean DeRosso. In case we finish up early, I have also made a simple art appreciation/evaluation worksheet and a drawing worksheet. Feel free to use them if they suit your needs. Pics of student's work to come ...............
This is the second artwork I created using binary code as my inspiration. Students will draw a koala using only a "0" and a "1" to create the texture of fur and tone. We will need to do some practise drawing but I think they will enjoy the challenge. This could be the end of the artmaking process but my aim here is to introduce students to ways of making digital artworks, starting with a drawing (traditional artmaking technique). I left the image as full colour. Using WORDFOTO, an Apple app on my iPad, I turned the drawing into a digital artwork using the binary code. WordFoto is so easy to use and allows you to import your own words and symbols. ***************************************************************** Here, I turned the image into black and white before importing it into WORDFOTO. Again, I used the binary code numerical system of 0 and 1 only. ***********************************************************************...



Comments
Post a Comment